Korean Cheese Balls
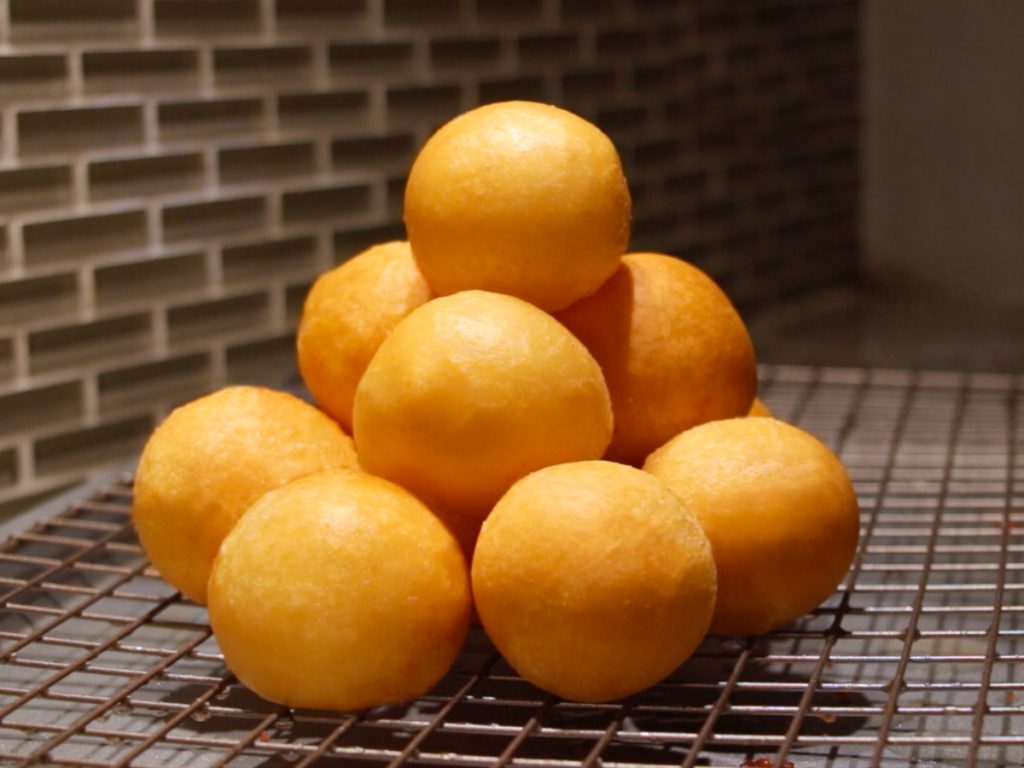
These trending Korean Cheese Balls are crispy and chewy on the outside, and cheesy on the inside.
What are Korean Cheese Balls?
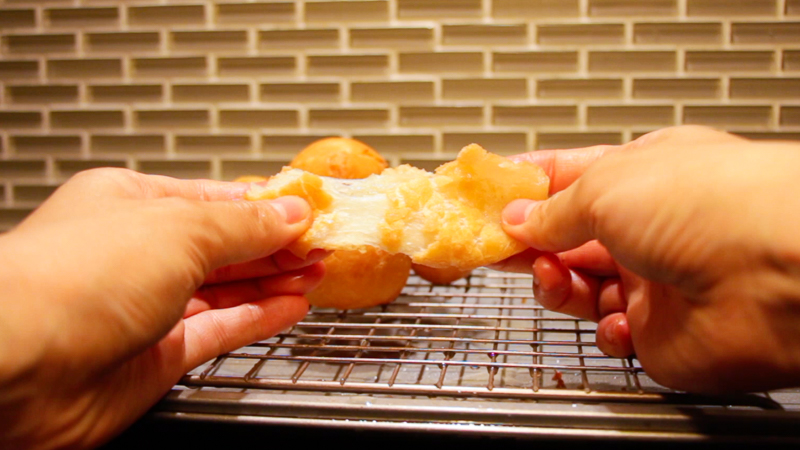
Korean cheese balls are chewy and crispy donut holes stuffed with mozzarella cheese. They have a puffy and mochi-like texture that is unlike any cheese ball you’ve had before.
These cheese balls have been trending recently in Korean Fried Chicken shops and in Korean mukbangs. They’re basically a savoury version of Korean chapssal donuts, which are sweet Korean donut holes filled with red bean. BUTTT PSHHH who wants boring old red bean when all you need is cheese. JK I love red bean, red bean stans please don’t come for me.
What’s the difference between regular cheese balls and Korean Cheese Balls?
There are many different variations to making cheese balls, but the most common way is to either make them by rolling cheese in egg, flour, and panko, or making a flour-based dough and wrapping it around cheese. After deep frying, it results in your classic crispy and/or bread-y texture.
Korean Cheese Balls use a similar method to a flour-based dough, but with the addition of glutenous rice flour. This results in a crispy, puffy, and chewy texture – similar to a mochi donut.
What do Korean Cheese Balls taste like?
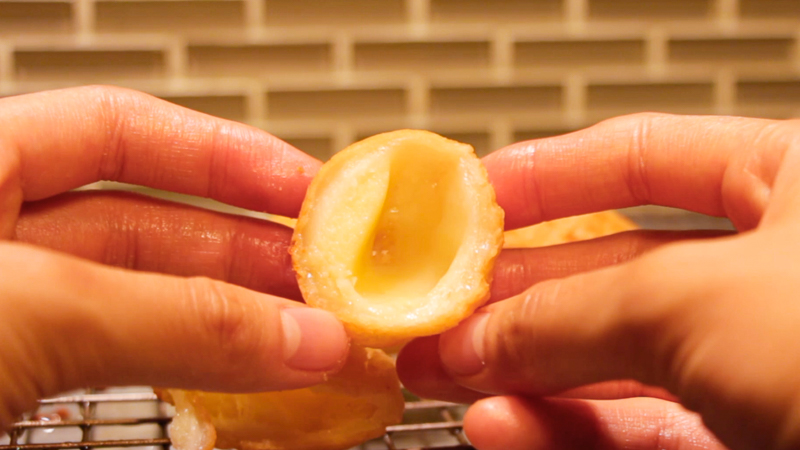
When you first take a bite, you get hit with a crispy crunch and with a light airiness inside. Then you chew a little, and it’s like your teeth are just bouncing on a bouncy castle with a satisfyingly chew from that mochi dough. Meanwhile, the stringy mozzarella cheese compliments the crispy and chewy texture. It’s all of the best textures in one single cheese ball.
What makes Korean Cheese Balls chewy?
Glutenous rice flour is what gives these Korean Cheese Balls a chewiness. Glutenous rice flour can also go by the name of mochiko flour or sweet rice flour.
Which glutenous rice flour brand is best?
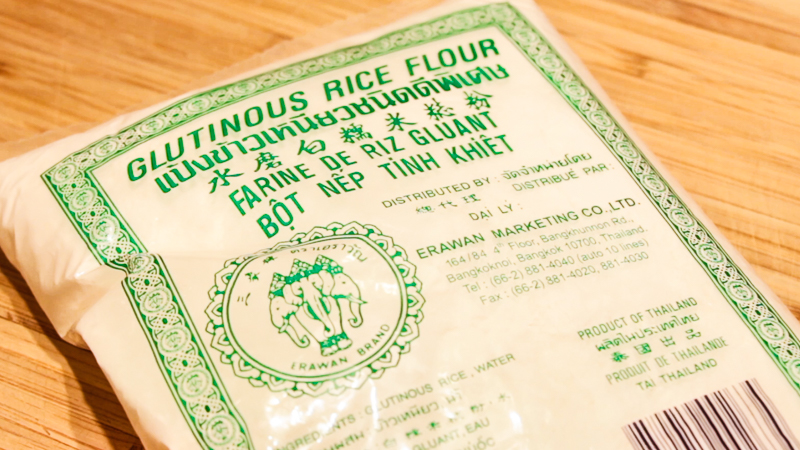
I like the ones that come in a green bag all the way from Thailand. I find that they’re the chewiest and also the cheapest.
There are many different brands that graphically have the green bag look, but they’re basically all the same, so any of them will do. I typically use the Erawan brand – the bag with a three-headed elephant, but I’ve also used a brand with a lion with three heads (lol).
Ingredients for Korean Cheese Balls
Glutenous rice flour
AKA mochiko flour or sweet rice flour. This is what will poof the cheese balls up and give us that mochi-like texture.
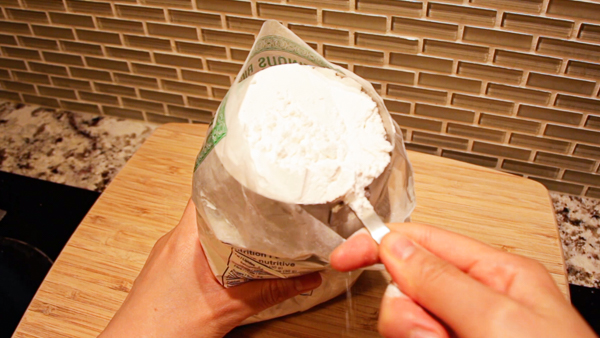
All-purpose flour
The addition of all-purpose flour helps balance out the chewy texture from the glutenous rice flour.
Baking powder
As a leavening agent, the addition of baking powder makes the balls extra puffy.
Granulated sugar
It may seem strange to add sugar to a savoury dish, but Korean cheese balls have a slight sweetness to them. Trust me, sugar takes these cheese balls to the next level.
Unsalted butter
Softened, unsalted butter adds moisture to the dough – think of it as lotion for the dough (haha).
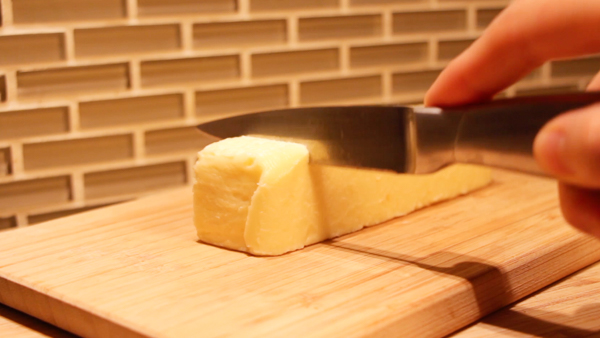
Mozzarella cheese
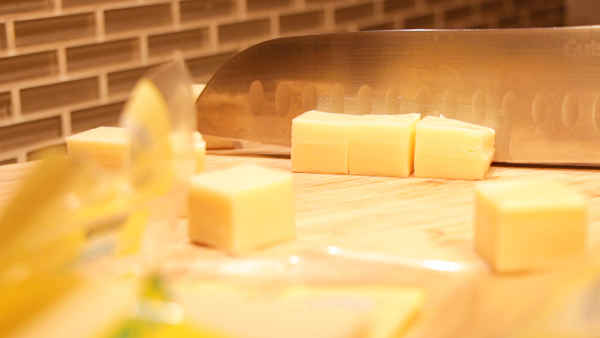
Mozzarella cheese is most popular kind of cheese to use and results in a cheese pull. Cube them into 2cm chunks.
I’ve also seen other variations of these Korean cheese balls where cheddar or pepper jack cheese is used.
How to make Korean Cheese Balls
1.
Mix together dough ingredients and kneed
To a bowl, combine the dry ingredients and whisk them to make sure everything is well incorporated. Lotion it up with some butter and pour in the hot water, mixing it with a spatula until you get a shaggy dough.
Begin to kneed with your hands for around 5 minutes until you form a smooth and solid dough with a clay-like consistency.
Note: Depending on the brand of flours you’ve used, the amount of water will vary. If you dough is still too dry, you will need to add more hot water, making sure to add it 1 tbsp at a time.
2.
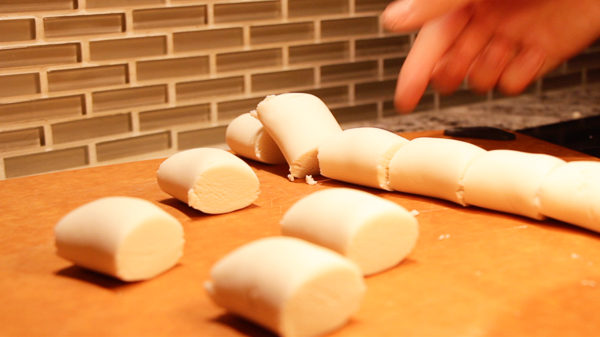
Form into cheese balls
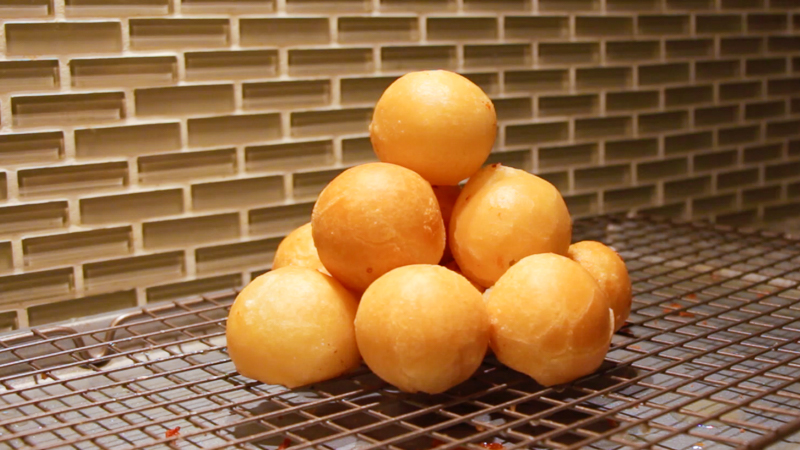
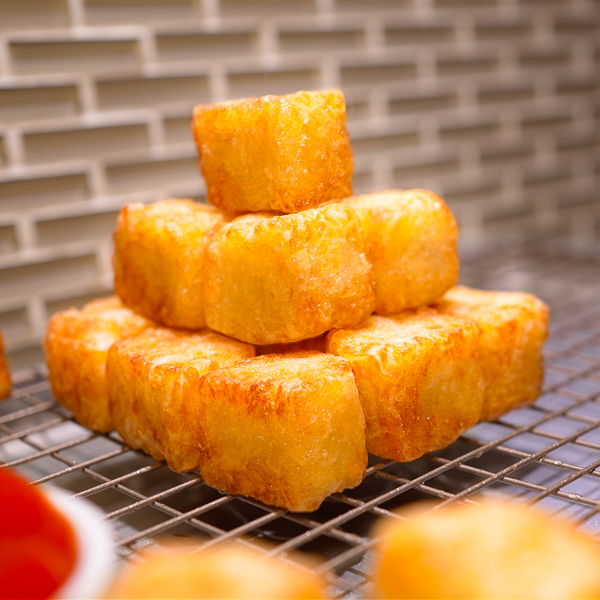
Roll the dough into a snake, cutting the snake into 12 pieces – you know, to make a cool pyramid shape with these.
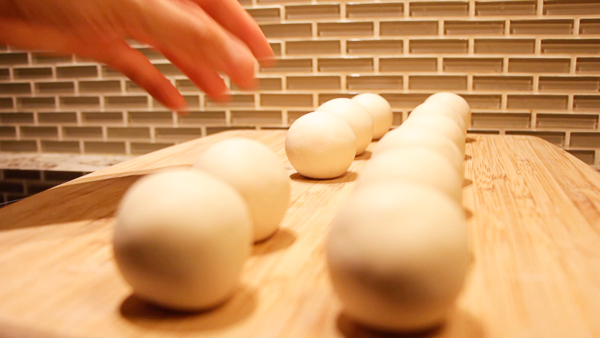
Take a piece, covering the rest with a wet towel. Wet the dough piece with more water, squishing it around in your hands so it’s well hydrated, and roll it into a sphere. Once you have a sphere, flatten it between your palms until it’s a flat little tortilla.
Grab a cube of mozzarella, and hug the cheese with the dough, pinching and moulding it back into a sphere. Repeat the process with the rest of the dough pieces.
3.
Deep fry the Korean cheese balls
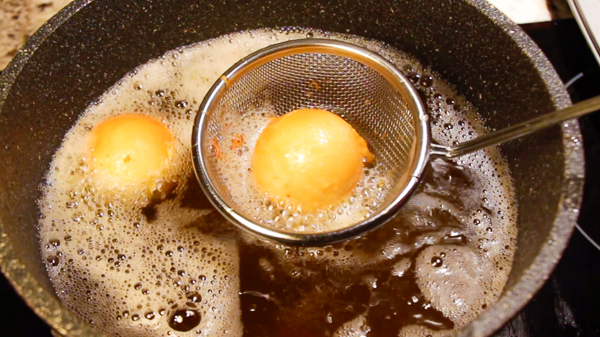
Fill a pot half full with oil, and with the heat on medium, wait until it reaches around 300°F (150°C).
Gently plop in the cheese balls – they should sink to the bottom and then gradually sizzle. Fry the cheese balls for 5-6 minutes or until crispy, golden brown. Make sure to fry in batches so they won’t overcrowd, or else they’ll stick together.
To make sure they cook evenly, constantly moving them around, but be careful because they may explode due to the hot air inflating inside.
4.
Transfer to wire rack and serve
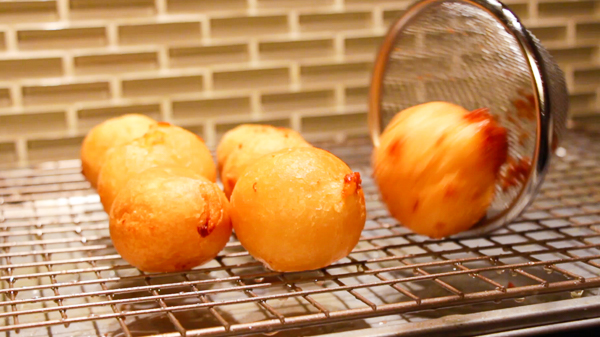
Once they look like golden jiggly puffs floating at the top of the oil, collect them and place on a wire rack to cool.
You can also coat them in cheese powder or sugar, but I prefer them as is.
Dig In!
And there we have it, cheese balls – Korean style, and before the cheese balls roll away, let’s dig in!

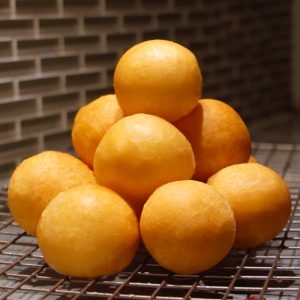
Korean Cheese Balls
Ingredients
Dough
- 1 cup glutenous rice flour
- 2 tbsp all-purpose flour
- ¼ tsp baking powder
- 1 tbsp granulated sugar
- ¼ tsp salt
- 1 tbsp unsalted butter softened
- ⅓ cup hot water add more water 1 tbsp if necessary
Filling
- 12 pieces mozzarella cheese cubed into 2cm pieces
Instructions
Dough
- Add the dry ingredients in a bowl, whisk them together.
- Add softened butter and hot water, mix with spatula until shaggy dough is formed.
- Kneed dough with your hands until smooth, add more water, 1 tbsp at a time, if necessary.
Forming
- Roll dough into a long log and divide into 12 pieces.
- Roll a dough piece into sphere, then flatten it between your palms
- Place a cheese cube into the middle of the dough, wrapping it until the cheese is covered up.
- Roll dough back into sphere.
- Repeat steps 1-4 until all pieces are used
Frying
- Fill a large pot halfway up with vegetable oil, heating it up on medium to 300°F (150°C)
- Gently place the cheese balls into oil, letting it cook for 5-6 mins or until crispy, golden brown
- Transfer the cheese balls to a wire rack to cool and serve immediately!
Video
Notes
Did you make this recipe?
Tag me @lookcatchu so I can drool over them.

Very yummy! I used mochiko instead of glutinous rice flour and it was crispy and chewy! 😋
Thank you for the kind review Sab! glad you enjoyed 🙂
FINALLY had a chance to make these and I wish I made more! I actually miscounted and cut up 6 instead of 12 (facepalm) but to be fair my cheese cubes were also larger lol and I tried both regular mozza and pizza mozza and I personally prefer the pizza mozza as it had a better pull AND it’s got a chewy texture which I ADORE.
Mine unfortunately burst. And the reason why it burst was because I introduced it to cold air when I lifted the basket to take out the ones that were ready. So def follow instructions to do them in batches, but OF THE same SIZE lol regardless of it bursting, mi e still stayed together and was still inflated. This is a fail proof recipe!
That’s Catherine for this recipe! LOVE your videos!!!
awwwww thank you Danica for the kind review! im glad you enjoyed them 🙂 haha i always like making a big batch of anything so i can always have leftovers, now you know next time around! have a lovely rest of your week!